Want to learn more? Check out Perfecting Your Technique: How to Make Great Espresso. Or if you're in the Portland area, come to our showroom for a Milk Steaming and Latte Art Class!
Latte Art: How to Pour a Heart

One of the many exciting things about making coffee at home is the artistic aspect of the process. So naturally, with all of the extravagant latte art Instagram accounts and video tutorials, it is common to shoot for the stars and work at perfecting your 12 layered tulip opposed to starting out simple and easy. While this is definitely something to work at, it’s a disappointing starting point, which is why we are going to walk you through pouring a simple, yet beautiful heart. But first, make sure you've practiced the basics of How to Steam Milk.
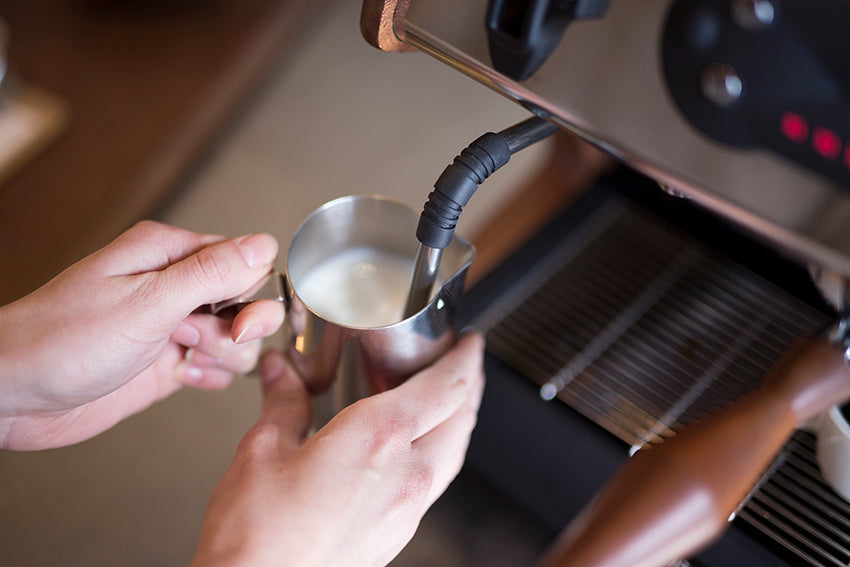
Pouring a heart is very easy to do and requires very little movement. Once you have your perfectly silky smooth milk, give your pitcher a few strong swirls and taps on the counter to even out the textures and get rid of any bubbles.
The important factors to consider when pouring are where you pour and how fast your pour. Pouring too fast will result in a very full cup in a matter of seconds, but pouring too slow will result in splashy droplets of milk and won’t allow for any shape to form.
You will want to hold your mug in one hand slightly angled towards your pitcher. With your dominant hand, hold your pitcher with a firm, but controlled grip. Don’t be afraid to use your fingers to ensure a steady pour.



Start with your pitcher about 4 inches above the surface of the drink. Pouring a little higher will allow the milk to dive under the surface, thus creating a perfect, even colored base for your foam to sit on. Feel free to move your pitcher back and forth during this first step to make sure you have an even color and texture.

Stay as steady as you can until you have filled the cup about ½ - ¾ of the way. Once you get to this point, bring your pitcher spout as close as you can to the surface of the drink without touching it. Keep a medium speed until you see the foam slowly start to lay on the surface. Once you get here, speed is everything. If you pour too slow, there is no way for the shape to fill out, but pouring too quickly decreases your control, so find that sweet speed, keep your location in the center of the cup and pour, pour, pour. It might take a second to see it, but do not give up! You will see a shape start to form in front of the pitcher's spout. Without any movement other than you pouring steadily, the foam should slowly create a circular shape on the surface of your drink. Once your mug is just about full, bring your pitcher back up a few inches and in one motion ‘strike through’ the blob to create a heart. At this step, going too slow, or not being fluid in your motion will cause that higher pour to suck your shape under the surface, so be careful. Once you perfect this, take it to the next level and give your pitcher a few little wiggles while making your heart to make it extra beautiful.